»
»
LED Strips
LED Strips
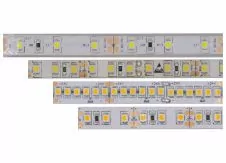
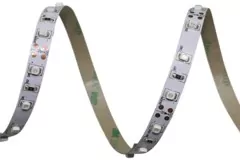
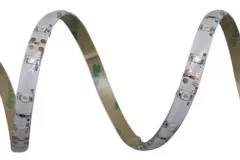
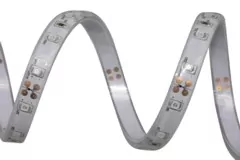
Individual lengths can be realized with our flexible LED strips. The LED strips are versatile and can be used almost anywhere.
With their high energy efficiency, a very long service life and quick switch-on behavior, the environmentally friendly LED strips offer , the all-round ideal solution for your desired lighting. Read more...
LED STRIPS AND THEIR APPLICATION POSSIBILITIES
Create with the LED strips in any room that certain extra. The LED strips are suitable for indoor and outdoor use (note the appropriate IP protection).
The advantage of 12V DC LED strips is the shorter cutting length. The cutting unit is every 3 LEDs. However, a lower voltage results in higher currents. This also limits performance.
The advantage of 24V DC LED strips is that with longer distances, greater power and more extensive installations, the light losses are lower and fewer feed points are required.
The LED strips can be optimally used for lighting for the following applications:
- closets
- shelves
- bathrooms
- effect lighting
- backlighting
- hand rails
- car
- caravan
- boats
- etc.
- office space
- living area
- corridors
- shopping malls
- workshops
- general lighting
- etc.
Install LED strips
A power supply/transformer or battery/battery (use voltage converter) is required to operate the LED strips. Easy installation by self-adhesive and heat-resistant 3M adhesive tape. For heat dissipation, use an aluminum profile.
The connection we soldered on the marked places. On request, we manufacture the LED tapes to their specified length and equip them with appropriate cable .
The LED strips are dimmable with an additional device between the power source and the LEDs.
Installation rules for LED strips
- Do not stretch or kink the LED strip:
This can damage the printed circuit board in the strip.
Especially when unrolling, make sure that there are no kinks.
- Always mount LED strips (from 5W/m) on an aluminum profile:
The aluminum profile ensures that the heat generated by the LEDs is optimal
can be derived. This increases the service life.
- Solder connection:
Make sure that the soldering iron stays on for as short a time as possible (max. 280°C during
5 seconds) comes into contact with the connection pads. too much heat,
can damage the conductive paths in the strip or the service life of the LEDs
shorten.
- ESD electrostatic discharge:
Always work with ESD protective gloves to protect the strip from electrostatic
to protect against discharge.
- Cut the LED strip:
The strips always have a marked spot where they can be separated.
It is best to cut the strip with scissors.
- Power adapter:
Always clamp wire ends cleanly (pay attention to insulation).
Observe polarity. Design based on the power of the connected strips.
- Feed:
The maximum length of an LED strip may be 5m. Accordingly every 5m
plan a new feed. Be careful with the solder joint. Can bend too tight
cause the supply to break off.
- Do not press on the LED chips:
The chips are very sensitive and can be destroyed if you apply too much pressure.
- Bending radius (do not bend):
Make sure the arch is not too tight. This can also damage the strip.


